
Introduction: Why Conditioning Your Leather Backpack Matters
Leather conditioning is a simple maintenance process that helps preserve your backpack’s flexibility, appearance, and durability. Unlike ordinary cleaning, conditioning replenishes essential oils that keep leather supple and prevent it from drying out, cracking, or becoming brittle over time.
Regular conditioning offers significant benefits for your leather backpack:
- Extends the lifespan of your investment by years or even decades
- Maintains the natural beauty and luster of the leather
- Prevents premature cracking and damage from environmental factors
- Enhances the development of a beautiful patina (the desirable aging appearance)
- Preserves the natural qualities of leather including breathability
Quality leather backpacks that receive proper care can easily last 10-20 years, while neglected leather often shows significant deterioration after just 1-2 years. The difference between well-maintained and poorly maintained leather becomes dramatically apparent over time.
Understanding the comprehensive leather conditioning and waterproofing guide provides essential knowledge that helps maintain your backpack’s quality throughout its lifetime. Since leather is a natural material that absorbs and releases moisture from its environment, regular conditioning works with these properties rather than against them.
Understanding Different Leather Types and Their Care Requirements
Not all leather is created equal, and different types require specific approaches to conditioning. Identifying your backpack’s leather type is the first step toward proper care.
Full-grain leather:
* The highest quality and most durable leather available
* Features natural markings, pores, and character
* Develops a rich patina over time
* Benefits from regular conditioning but can handle slightly more product
Top-grain leather:
* Sanded to remove imperfections, creating a more uniform appearance
* Thinner and more flexible than full-grain
* Requires more gentle conditioning to avoid oversaturation
Genuine leather:
* Made from lower layers of the hide after top layers are removed
* Less durable with a more artificial appearance
* Needs light but frequent conditioning to maintain quality
Suede/Nubuck:
* Features a fuzzy, brushed surface
* Highly susceptible to staining and water damage
* Requires specialized conditioning products designed specifically for these textures
Tanning method differences:
* Vegetable-tanned leather: Natural process using plant materials; develops beautiful patina
* Chrome-tanned leather: Processed with chemicals; more water-resistant but less breathable
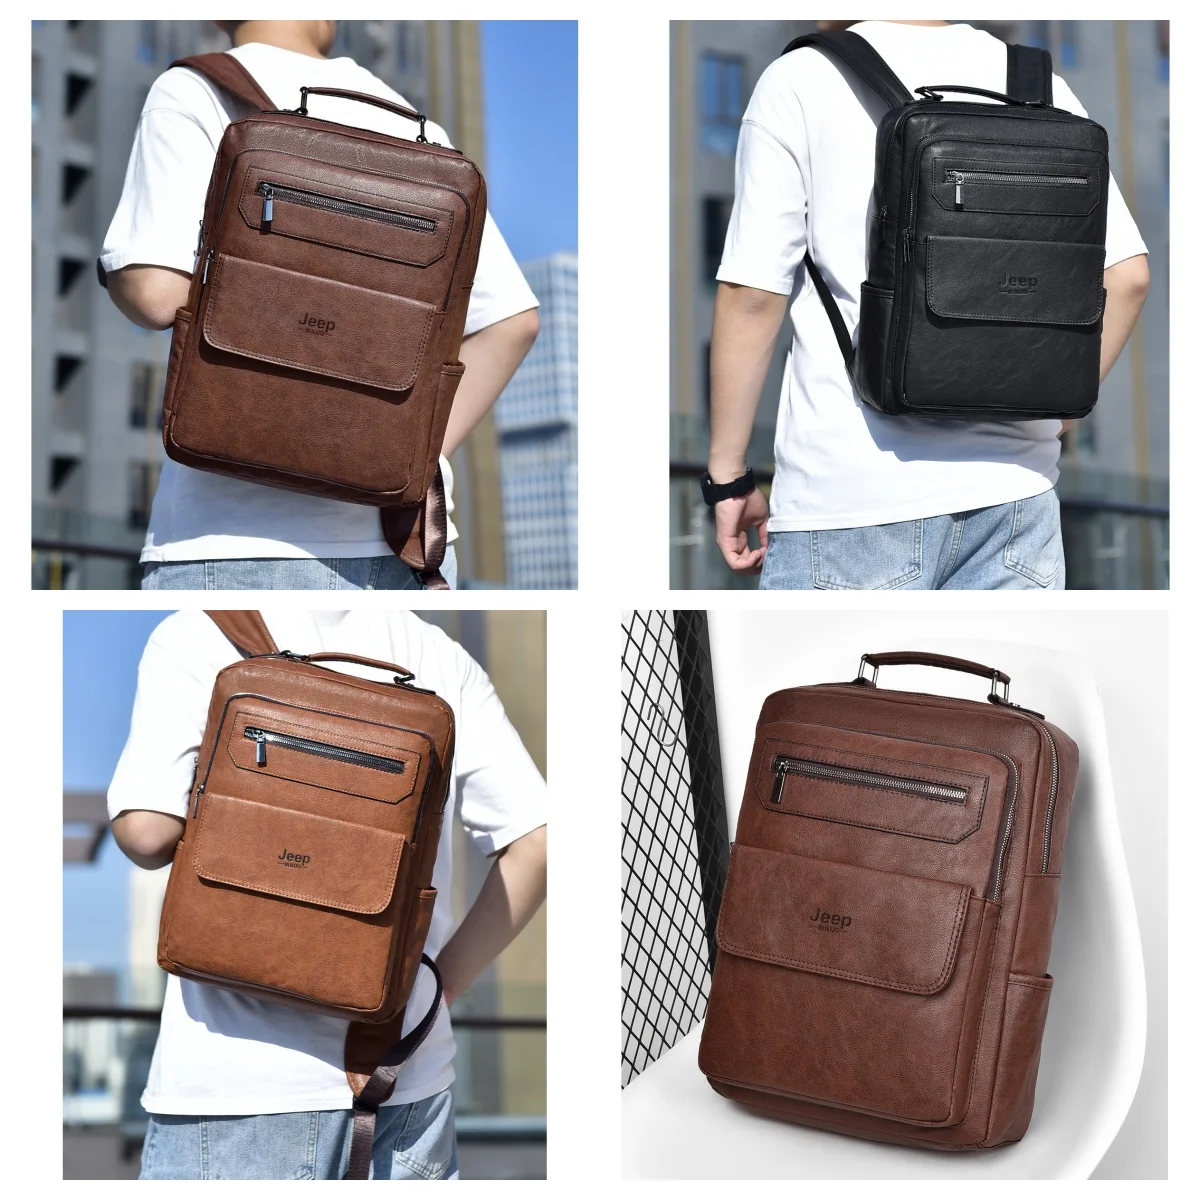
You can identify your backpack’s leather type by examining its texture (smooth vs. fuzzy), thickness, presence of natural markings, and flexibility. Our full-grain leather backpack collection showcases the premium leather type that responds exceptionally well to proper conditioning.
Essential Supplies for Proper Leather Conditioning
To properly condition your leather backpack, you’ll need several key supplies:
Microfiber cloths (at least 2-3): For cleaning, applying conditioner, and buffing without scratching the leather
Soft horsehair brush: Gently removes dust and dirt from seams and textured areas without damaging the leather
pH-neutral leather cleaner: Specifically formulated to clean without stripping natural oils
Quality leather conditioner: The right formulation for your specific leather type (cream, oil, or wax-based)
Applicator sponges or pads (optional): For even application of conditioner
Leather protectant or waterproofing (optional): Additional protection against water and stains
Clean, well-lit workspace: Helps you see all areas of the backpack clearly
The quality of your conditioning products significantly impacts results. Look for conditioners containing natural ingredients like beeswax, lanolin, or jojoba oil. Avoid products containing silicone, alcohol, or petroleum distillates, which can damage leather over time.
Never substitute household items like olive oil, coconut oil, or petroleum jelly for proper leather conditioners. These can cause discoloration, rancidity, or damage to stitching and adhesives. Exploring reliable leather waterproofing products can help you select quality options for your specific leather type.
Pre-Conditioning Assessment: When and How to Condition
Before conditioning your leather backpack, assess whether it actually needs treatment. Conditioning too frequently can oversaturate the leather, while neglecting conditioning leads to dryness and damage.
Signs your leather backpack needs conditioning:
* The leather feels dry or stiff when gently bent
* Light scratches don’t fade when rubbed with your finger
* The surface looks dull or has lost its natural sheen
* The leather feels rough rather than smooth
* You notice small cracks beginning to form
* The backpack has recently been exposed to rain, snow, or extreme conditions
* It’s been 3-6 months since the last conditioning (for regular use)
The ideal conditioning frequency depends on several factors. Backpacks used daily typically need conditioning every 3-4 months, while those used occasionally might only need treatment every 6-12 months. Environmental factors also matter—dry climates or air-conditioned environments accelerate leather drying, while humid environments may require less frequent conditioning.
Remember that leather naturally absorbs and releases moisture. Understanding whether leather should dry before conditioning helps determine the right timing after cleaning or exposure to moisture.
Rather than following a strict schedule, let the leather’s condition guide you. A quick assessment takes only seconds—if the leather feels dry or looks dull, it’s probably time to condition.
Step 1: Preparing Your Leather Backpack for Conditioning
Proper preparation ensures the conditioning process delivers maximum benefits. Follow these steps before applying any products:
Empty your backpack completely, checking all pockets and compartments for forgotten items
Open all zippers, flaps, and closure mechanisms to access all leather surfaces
Shake out the backpack gently or use a vacuum with a soft brush attachment to remove interior dust and debris
Set up your workspace with good lighting so you can see all areas clearly
Lay down a clean towel or cloth to protect your work surface
Gather all necessary supplies before starting to avoid interruptions
Perform a spot test with your chosen conditioner in an inconspicuous area (like the bottom or inside a flap) to check for any adverse reactions like darkening or discoloration
Allow at least 24 hours after conditioning before using your backpack, so plan accordingly. This preparation may seem time-consuming, but it ensures even conditioning and prevents missed spots that could lead to uneven aging or damage.
Step 2: Cleaning Your Backpack Before Conditioning
Never condition a dirty backpack. Dirt particles can become trapped in the leather once conditioner is applied, causing micro-abrasions and a dull appearance. Clean your backpack thoroughly by following these steps:
Dust the entire surface using a soft horsehair brush, paying special attention to seams, corners, and hardware attachments
Prepare your leather cleaner according to the manufacturer’s instructions (often diluted with water)
Dampen a clean microfiber cloth with the cleaning solution—it should be damp, not wet
Clean in small sections using gentle circular motions
Pay extra attention to handles, straps, and other high-contact areas where oils from hands accumulate
Use a separate clean, damp cloth to remove cleaner residue
Allow the backpack to dry completely (4-24 hours depending on humidity)
For hardware like buckles and zippers, avoid getting cleaner on metal parts when possible, as it can promote tarnishing. Use a slightly damp cloth to clean around these areas carefully.
The complete guide to waterproofing leather bags provides additional insights into preparing leather for treatment. Remember that even the slightest moisture trapped in the leather can prevent proper conditioning absorption, so patience during the drying phase is crucial.
Step 3: Applying Conditioner – Techniques for Even Coverage
Proper application technique ensures your conditioner penetrates evenly without creating spots or streaks. Follow these steps for professional results:
Choose the right amount of conditioner—start with a small amount (pea-sized for a small section) as you can always add more
Apply conditioner to a clean microfiber cloth or applicator pad rather than directly to the leather
Work in small, manageable sections (approximately 4-6 inches square)
Use gentle circular motions to work the conditioner into the leather, following the natural grain direction
Pay extra attention to areas that bend frequently (straps, flap closures) as these need more conditioning
Use your fingertips (washed and dried) for harder-to-reach areas and to feel if the leather is absorbing the product
Apply lighter amounts to seams and stitching areas to avoid buildup
For embossed or textured leather, ensure conditioner reaches into crevices using a slightly firmer touch
The leather should absorb the conditioner gradually, with the surface looking slightly darker while treatment is in progress. If the conditioner sits on the surface without absorbing, you’re using too much—wipe away excess immediately to prevent spotting.
For comprehensive guidance, our ultimate guide to conditioning leather backpacks provides detailed techniques for specific leather textures and finishes. Remember that under-conditioning is always preferable to over-conditioning, as you can always add more, but removing excess can be challenging.
Step 4: Allowing Proper Absorption and Finishing Touches
After applying conditioner, patience becomes your most important tool. The absorption process is when the real magic happens as the leather fibers drink in the nourishing oils and waxes.
Allow 6-12 hours for the conditioner to fully absorb into the leather. The exact time varies depending on:
* The specific conditioner formulation
* Your leather type and porosity
* Environmental humidity
* Room temperature (warmer temperatures typically speed absorption)
During this time, keep the backpack in a clean, dust-free environment away from direct heat and sunlight. The leather should not feel sticky or greasy when properly absorbed—if it does, gently buff with a clean microfiber cloth to remove excess product.
Once absorption is complete, perform these finishing steps:
- Buff the entire surface with a clean, dry microfiber cloth using circular motions
- Apply slightly more pressure while buffing to generate minimal friction that enhances the leather’s natural shine
- Check for any spots that appear darker than others (indicating excess product) and buff more vigorously
- Flex the backpack gently to ensure the leather moves naturally and doesn’t feel stiff
Properly conditioned leather should have a subtle sheen (not glossy unless using a polish), feel soft and supple to the touch, and have a slightly richer color than before conditioning.
Optional Step 5: Applying Protective Treatment for Weather Resistance
After conditioning has fully absorbed, you may want to add weather protection, especially if you use your backpack in unpredictable conditions. Protectants create a barrier against water, stains, and environmental contaminants without interfering with the leather’s ability to breathe.
Consider protective treatments when:
* You commute in variable weather conditions
* Seasonal changes bring increased precipitation
* Planning travel to humid or rainy environments
* Your backpack contains valuable electronics
Application process:
1. Ensure your backpack is fully conditioned and the conditioner has completely absorbed (usually 24 hours after conditioning)
2. Select a protectant designed specifically for your leather type
3. Apply a thin, even coat using a clean cloth in straight lines rather than circles
4. Allow to dry according to the product instructions (typically 24-48 hours)
5. Apply a second light coat for maximum protection if recommended by the manufacturer
Understanding whether oiling leather provides waterproofing helps set realistic expectations about protection levels. No leather is completely waterproof, but proper protection significantly improves resistance to light rain and accidental spills.
Be aware that most protectants need reapplication more frequently than conditioners—typically every 1-3 months depending on exposure and use.
Special Conditioning Techniques for Different Leather Types
Each leather type requires slightly different conditioning approaches for optimal results:
Full-Grain Leather
* Can handle slightly more robust conditioning
* Benefits from conditioners with natural waxes that enhance patina development
* Apply conditioner in very thin layers, allowing each to absorb before adding more
* May develop a richer, slightly darker tone after conditioning (desirable effect)
Top-Grain Leather
* Requires lighter application than full-grain
* Benefits from lighter, less oil-heavy conditioners
* More susceptible to oversaturation, so use minimal product
* May not develop the same rich patina as full-grain but still improves with conditioning
Suede and Nubuck
* Never use regular leather conditioners
* Require specialized suede/nubuck conditioners or sprays
* Use very light application to avoid matting the napped surface
* Test in an inconspicuous area first as these leathers can darken significantly
* May need brushing with a suede brush after conditioning to restore texture
Vegetable-Tanned Leather
* Typically more absorbent and responsive to conditioning
* Develops beautiful patina with proper care
* May darken more dramatically when conditioned
* Benefits from natural-based conditioners without synthetic ingredients
Our leather backpacks collection includes various leather types, each designed to age beautifully with proper conditioning. Remember that the goal is to maintain your backpack’s unique character while extending its lifespan through appropriate care.
Fixing Common Leather Issues Through Conditioning
Strategic conditioning can address many common leather problems:
Dry Spots and Early Cracking
* Apply slightly more conditioner to affected areas
* Use fingertips to work product deeply into the leather
* Consider multiple light applications rather than one heavy one
* Allow longer absorption time (24+ hours)
Minor Scratches and Scuffs
* Gently warm the area with your fingertip before conditioning
* Apply conditioner directly to the scratch with a cotton swab
* Buff vigorously after absorption to help blend the mark
Water Spots and Rain Damage
* Allow to dry completely before addressing
* Clean thoroughly before conditioning
* Apply conditioner evenly to the entire panel, not just the spotted area
* Multiple light applications may be needed to achieve color consistency
Stiffness in Unused Areas
* Apply conditioner more generously to stiff areas
* Gently flex the leather while still slightly damp with conditioner
* Repeat conditioning more frequently until suppleness returns
Color Fading
* Regular conditioning helps prevent fading
* For already-faded areas, conditioner with natural oils can restore some color depth
* Consider color-specific conditioners for severe fading
For backpacks used in daily commuting, the leather commuter backpack care tips provide specialized advice for high-use scenarios. Remember that while conditioning can fix many issues, severe damage like deep cracks, tears, or heavy staining may require professional leather repair.
Ongoing Maintenance Between Conditioning Treatments
Regular minor maintenance significantly extends the time between full conditioning sessions:
Daily/Weekly Care
* Wipe down your backpack with a clean, dry cloth after each use to remove dust and oils
* Store properly when not in use (more on this in the next section)
* Address spots and spills immediately before they set
* Use a soft brush weekly to remove accumulated dust from seams and corners
Quick Touch-Ups
* Keep a leather-friendly wet wipe in your bag for on-the-go cleaning of small marks
* Buff dull spots with a clean microfiber cloth to restore shine
* Apply tiny amounts of conditioner to areas showing early signs of dryness
Seasonal Transitions
* Increase conditioning frequency when transitioning to drier weather
* Apply protective treatment before rainy seasons
* Check hardware and stress points more frequently during heavy use periods
Emergency Care
* If caught in rain, blot (don’t rub) with an absorbent cloth
* Allow to dry naturally away from direct heat
* Condition after fully dry to restore moisture balance
This consistent care takes only minutes but dramatically improves your backpack’s longevity and appearance between full conditioning sessions.

14 Inch Leather Laptop Backpack, Brown Leather Backpack, Men's Leather Backpack, Vintage Leather Backpack
Price range: $177.28 through $199.12 Select options This product has multiple variants. The options may be chosen on the product page
Carry On Leather Backpack, Roll Top Leather Backpack
Price range: $77.76 through $96.48 Select options This product has multiple variants. The options may be chosen on the product page
Designer Mini Backpack, Mini Leather Backpack, Small Leather Sling Backpack, Women's Leather Backpack
Price range: $95.76 through $98.80 Select options This product has multiple variants. The options may be chosen on the product page
Designer Mini Backpack, Designer Women's Backpack, Mini Leather Backpack, Women's Leather Backpack
Price range: $135.92 through $137.64 Select options This product has multiple variants. The options may be chosen on the product page
Black Leather Backpack, Small Leather Backpack, Women's Leather Backpack
Price range: $112.96 through $116.12 Select options This product has multiple variants. The options may be chosen on the product page Price range: $80.72 through $108.04 Select options This product has multiple variants. The options may be chosen on the product page
Proper Storage to Preserve Conditioned Leather
How you store your leather backpack is just as important as how you condition it. Proper storage maintains the benefits of conditioning and prevents damage during periods of non-use.
Optimal Storage Conditions:
* Store in a cool, dry place with moderate humidity (40-50%)
* Keep away from direct sunlight to prevent fading and drying
* Ensure good air circulation around the backpack
* Avoid plastic bags or airtight containers which can trap moisture and lead to mildew
* Maintain distance from heaters, radiators, and air conditioning vents
Maintaining Shape:
* Stuff the backpack gently with acid-free tissue paper or a clean cotton pillowcase
* Avoid newspaper as the ink can transfer to leather
* Don’t overstuff as this can stretch seams and stress closure systems
Long-Term Storage:
* Clean and condition thoroughly before extended storage
* Use a cotton dust bag or pillowcase to allow breathing while preventing dust accumulation
* Check occasionally and air out even during storage periods
Understanding proper leather backpack storage techniques helps maintain the benefits of your conditioning efforts. Remember that leather needs to breathe—storing in appropriate conditions prevents the conditioner from becoming rancid or uneven.
Common Mistakes to Avoid When Conditioning Leather Backpacks
Even with good intentions, these common errors can damage your leather backpack:
Over-Conditioning
* Signs: Sticky surface, darkened patches, greasy feel, leather that stretches too easily
* Prevention: Use minimal product, increase frequency rather than amount
Using Inappropriate Products
* Mistake: Household oils (olive, coconut), petroleum jelly, or furniture polish
* Risk: Rancidity, uneven absorption, damage to stitching
* Solution: Invest in quality leather-specific conditioners
Inadequate Cleaning Before Conditioning
* Risk: Dirt becomes permanently embedded in leather
* Solution: Always clean thoroughly and allow to dry completely before conditioning
Heat Exposure
* Mistake: Using hair dryers, heaters, or direct sunlight to speed drying
* Risk: Leather hardening, cracking, or warping
* Solution: Allow natural drying time in indirect light
Inconsistent Application
* Result: Splotchy appearance, uneven aging
* Solution: Work methodically in sections with consistent pressure
Neglecting Hardware Areas
* Risk: Conditioner buildup around metal elements causing tarnish or corrosion
* Solution: Apply carefully around hardware and wipe excess immediately
Our vintage leather backpack collection showcases pieces that have been properly maintained for years, developing character without damage. The difference between aging beautifully and premature deterioration often comes down to avoiding these common care mistakes.
Frequently Asked Questions About Leather Backpack Conditioning
Can I use natural oils from my kitchen instead of leather conditioner?
No, kitchen oils (olive, coconut, vegetable) can turn rancid over time, creating unpleasant odors and damaging the leather. Professional leather conditioners are formulated to absorb properly without becoming rancid.
Will conditioning darken my leather backpack?
Most leather will temporarily darken during conditioning but should return close to its original shade after absorption. However, some degree of permanent darkening is normal, particularly with the first few conditionings. Always test in an inconspicuous area first.
How do I restore a severely dried-out backpack?
Severely dried leather requires multiple light conditionings rather than one heavy application. Clean thoroughly, then apply thin layers of conditioner 24-48 hours apart until the leather regains flexibility. Patience is essential for the best results.
Is conditioning necessary for a new leather backpack?
Yes, even new backpacks benefit from light conditioning before first use. Manufacturing processes often remove natural oils, and initial conditioning establishes protection against environmental factors.
Can I over-condition my leather backpack?
Absolutely. Over-conditioning saturates leather fibers, creating a tacky surface that attracts dirt. It can also weaken the leather structure and cause stretching. Less is more with leather conditioning.
How do I know if my backpack needs conditioning or more serious repair?
If conditioning doesn’t improve flexibility or if you see deep cracks that don’t improve with multiple conditionings, professional repair may be needed. Similarly, color restoration beyond what conditioning provides might require professional attention.
For those interested in maintaining their backpacks while traveling, our guide on DIY leather care for travel backpacks provides practical advice for on-the-go maintenance.
Why Quality Conditioners Make a Difference: What to Look For
The quality of your leather conditioner significantly impacts your backpack’s longevity and appearance. Understanding what makes a good conditioner helps you make informed choices:
Beneficial Ingredients:
* Natural oils (neatsfoot, mink, jojoba) that mimic leather’s natural lubricants
* Natural waxes (beeswax, carnauba) for protection and water resistance
* Lanolin for moisture balance and suppleness
* Natural preservatives rather than harsh chemicals
Ingredients to Avoid:
* Silicone (creates artificial shine but prevents leather from breathing)
* Petroleum distillates (can dry leather over time)
* High alcohol content (dries out leather)
* Artificial fragrance (can cause discoloration)
Formulation Considerations:
* Water-based conditioners: Lighter, less darkening, ideal for regular maintenance
* Oil-based conditioners: More intensive restoration, better for very dry leather
* Cream conditioners: Balance of moisture and protection, good for regular use
* Wax-heavy formulas: Maximum protection, better for outdoor-use backpacks
Quality conditioners typically cost more but require less product per application and deliver superior results. The long-term cost difference is negligible compared to the extended life they provide to your leather backpack.
Summit Carry’s Leather Care Commitment: Resources for Ongoing Care
At Summit Carry, we believe quality leather isn’t just about the initial purchase—it’s about the lifetime journey your backpack takes with you. Our leather backpacks are designed with maintenance in mind, using premium materials that respond beautifully to proper care.
We’re committed to helping you maintain your investment through:
* Selecting leathers that develop character over time rather than deteriorating
* Designing features that allow access to all areas for proper cleaning and conditioning
* Using hardware and components that withstand regular maintenance
* Creating timeless designs worth maintaining for years to come
The relationship between proper care and value becomes apparent over time. While an unconditioned backpack might look worn and damaged after a year, properly maintained Summit Carry backpacks develop a rich patina that tells the story of your adventures while maintaining structural integrity.
Remember that leather care isn’t just about aesthetics—it’s about sustainability. A well-maintained leather backpack can last decades, reducing waste and the environmental impact of frequent replacements. By investing a few minutes in regular conditioning, you’re extending the life of your backpack and embracing a more sustainable approach to your daily carry needs.