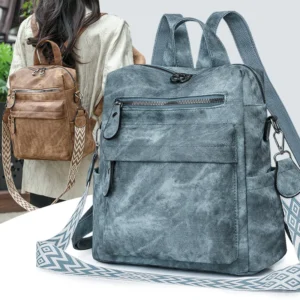
Why Condition Your Leather Backpack?
A quality leather backpack represents more than just a purchase—it’s an investment that can last for decades with proper care. Conditioning is perhaps the most crucial aspect of this care routine, yet many owners overlook this essential maintenance step.
Leather is a natural material that contains oils that keep it supple, soft, and resistant to cracking. Over time, these natural oils diminish due to:
- Daily exposure to environmental elements
- Natural evaporation and drying
- Contact with dust and pollutants
- Regular handling and use
Without replenishment through conditioning, leather becomes brittle and prone to damage. Studies suggest that properly conditioned leather can last up to 10-15 years longer than neglected leather, making the small time investment in conditioning tremendously worthwhile.
Beyond longevity, regular conditioning:
– Enhances the rich color and appearance of your leather
– Creates a protective barrier against moisture and dirt
– Prevents premature aging and deterioration
– Maintains the supple feel that makes leather so desirable
Understanding proper leather conditioning and waterproofing techniques is essential for anyone who wants to protect their investment and keep their leather backpack looking its best for years to come.
Understanding Different Leather Types Before Conditioning
Not all leather backpacks are created equal, and different types require specific conditioning approaches. Before treating your backpack, identify which leather type you own:
Full-Grain Leather
Full-grain represents the highest quality leather available, utilizing the entire top layer of the hide with its natural grain intact. This premium material:
– Features visible natural markings and character
– Develops a beautiful patina over time
– Requires regular conditioning to maintain its suppleness
– Absorbs conditioners more readily than treated leathers
Our full-grain leather backpacks exemplify this superior quality and will respond exceptionally well to proper conditioning.
Top-Grain Leather
One step down from full-grain, top-grain leather has had its uppermost layer sanded to remove imperfections:
– Smoother and more uniform appearance than full-grain
– Thinner and more pliable
– Less absorbent due to applied finishes
– Requires lighter conditioning application to prevent oversaturation
Genuine Leather
Despite its name, genuine leather represents a lower quality option made from the hide layers remaining after top layers are removed:
– Often has an artificial grain pattern embossed on the surface
– Contains more fillers and treatments
– Requires gentler conditioning to avoid overwhelming the material
– Benefits from more frequent but lighter conditioning applications
Suede and Nubuck
These distinctive leathers have a soft, fuzzy texture and require specialized care:
– NEVER use standard leather conditioners on suede or nubuck
– Require specialized suede/nubuck-specific products
– Need brushing rather than rubbing during cleaning and maintenance
– May darken permanently if treated with oil-based products
When preparing your backpack for conditioning, knowing if leather should dry before conditioning can make a significant difference in the results you achieve.
Essential Supplies for Effective Leather Conditioning
Gathering the right tools before beginning ensures the conditioning process will go smoothly. Here’s what you’ll need:
Cleaning Supplies:
– Soft microfiber cloths (lint-free is ideal)
– Horsehair brush for removing surface dust
– pH-balanced leather cleaner (never use household soaps)
– Small bowl for cleaner dilution if required
– Clean sponge for cleaner application
Conditioning Supplies:
– High-quality leather conditioner appropriate for your leather type
– Application cloths or applicator pads
– Soft buffing cloth
– Cotton swabs for reaching seams and hardware areas
Types of Leather Conditioners:
– Natural oil-based conditioners (contain neatsfoot oil, mink oil, or lanolin)
– Wax-based conditioners (provide more waterproofing but less penetration)
– Water-based conditioners (lighter application for finished leathers)
– Cream conditioners (balanced conditioning with some polishing properties)
Storage Materials:
– Dust bag or pillowcase for protection when not in use
– Acid-free tissue paper for stuffing and maintaining shape
– Cedar blocks or sachets to deter moisture and pests
For leather backpacks that will see extensive outdoor use, you might consider additional leather waterproofing products after the conditioning process is complete.
Pre-Conditioning: How to Thoroughly Clean Your Leather Backpack
Applying conditioner to a dirty backpack traps debris and oils in the leather, potentially causing damage. Follow these steps for proper cleaning:
Empty and prepare your backpack
Remove all contents and open all compartments. Gently turn the backpack inside out where possible to shake out interior debris.Dust and initial inspection
Using a soft horsehair brush, gently remove surface dust and dirt. Pay special attention to seams and corners where debris collects. Inspect for stains or damage that might need special treatment.Test your cleaner
Apply a small amount of leather cleaner to an inconspicuous area (inside a flap or bottom corner) and wait 24 hours to ensure it doesn’t cause discoloration or damage.Clean the entire surface
Dampen a clean cloth with leather cleaner (not soaking wet). Working in small sections, wipe the leather using gentle circular motions. Avoid saturating the leather with excess moisture.Address specific stains
– For water spots: Dampen a cloth with distilled water and gently blot (not rub) the entire panel for even drying
– For oil stains: Use a specialized leather degreaser or cornstarch to absorb oils
– For ink: Consult a professional as DIY methods often make these stains worseRemove cleaning residue
Wipe the entire surface with a clean, slightly damp cloth to remove any cleaner residue. This prevents cleaners from interfering with conditioner absorption.Allow thorough drying
Let your backpack air dry completely for 24 hours in a well-ventilated area away from direct heat sources or sunlight. Never apply conditioner to damp leather.
For a more comprehensive approach to the cleaning process, our guide on how to clean leather backpacks provides detailed techniques for different stain types and leather finishes.
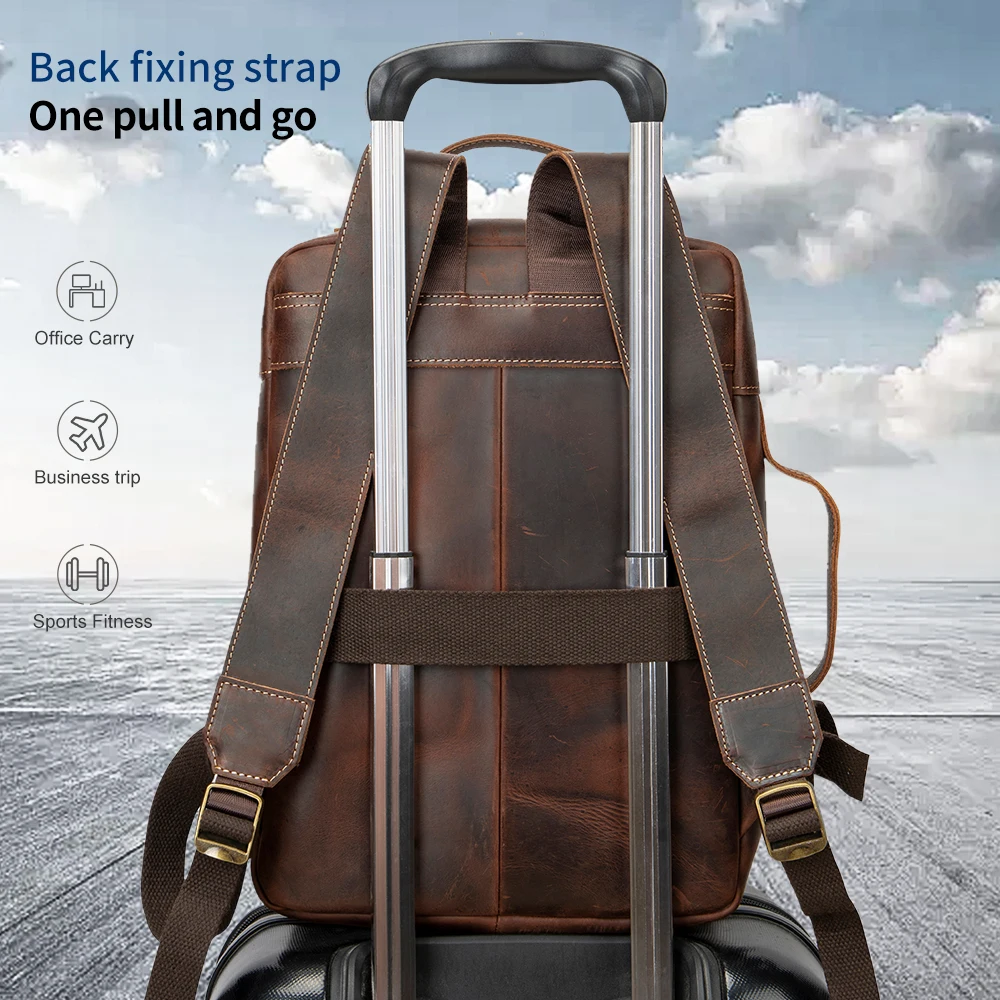
Step-by-Step Guide to Properly Condition Your Leather Backpack
Now that your backpack is clean and completely dry, you’re ready for the conditioning process:
Prepare your workspace
Choose a clean, flat surface with good lighting. Lay down a towel or protective covering to catch any excess conditioner that might drip.Test the conditioner
Apply a small amount to an inconspicuous area and wait 12-24 hours to ensure it doesn’t darken the leather more than desired or cause any adverse reactions.Prepare the conditioner
Shake the bottle well if required. Place a pea-sized amount of conditioner on a clean, soft cloth. Many beginners make the mistake of using too much product.Apply with proper technique
Using your cloth, apply the conditioner in small circular motions, working on one section at a time. Use light pressure—the goal is to work the conditioner into the leather, not simply coat the surface.Focus on dry areas
Pay extra attention to areas that show signs of dryness or that flex frequently, such as the top handle and strap attachment points.Allow proper absorption
Let the conditioner absorb for 10-30 minutes (follow the specific product instructions). The leather should absorb the product without leaving a greasy surface. If the leather still appears dry after this time, you can apply a second light coat.Buff to perfection
Using a clean, dry cloth, gently buff the entire surface using circular motions. This removes excess conditioner and enhances the leather’s natural luster.Assess the results
The leather should now appear richer in color with a subtle, natural sheen—not shiny or greasy. The surface should feel soft and supple to the touch.
For more advanced techniques, our guide on DIY leather care for travel backpacks offers additional methods to maintain your leather goods while on the go. If you’re interested in exploring different styles that benefit from regular conditioning, browse our collection of leather backpacks to find your perfect match.
Conditioning Different Leather Areas: Straps, Hardware Areas, and Seams
Different parts of your leather backpack face unique stresses and exposure levels, requiring special attention during conditioning:
Straps and Handles:
– These high-touch areas lose moisture faster through handling
– Apply conditioner more frequently to these sections
– Work conditioner in with your fingertips to ensure it penetrates the leather
– Pay special attention to stress points where straps connect to the body
– Use light coats to prevent over-conditioning which can weaken the structure
Around Hardware:
– Metal hardware (buckles, zippers, rivets) can trap moisture against leather
– Use a cotton swab to apply conditioner carefully around metal components
– Wipe away excess conditioner promptly to prevent build-up or corrosion
– Avoid getting conditioner directly on metal as some formulas can cause tarnishing
Seams and Edges:
– These areas are particularly vulnerable to drying and cracking
– Use a small cloth or cotton swab to work conditioner into seams
– Pay extra attention to exposed or raw leather edges
– Apply slightly more conditioner to edges, as they tend to dry out faster
– Check stitching for any signs of dryness or wear
Reinforced Areas:
– Areas with double-layered leather need extra time to absorb conditioner
– Press more firmly when conditioning these sections to ensure penetration
– Check for proper absorption before moving on
Our collection of vintage leather backpacks often features unique design details that require this kind of specialized conditioning attention to maintain their character and structural integrity.
Post-Conditioning Care & Maintaining Leather’s Shape
After conditioning, proper care ensures your backpack maintains its shape and the conditioning benefits last:
Allow full curing time
Let your backpack rest for 24-48 hours after conditioning. This allows the oils to fully penetrate and stabilize within the leather fibers.Maintain proper shape
Stuff your backpack loosely with acid-free tissue paper or clean cotton cloths to help it maintain its intended shape while not in use. Avoid newspaper as the ink can transfer to the leather.Apply protective treatment (optional)
If your backpack will be exposed to harsh conditions, consider applying a leather protectant after the conditioner has fully cured. This adds water and stain resistance.Store properly
Keep your conditioned backpack in a cool, dry place away from direct sunlight. Use a cotton dust bag or pillowcase for protection—never store leather in plastic, which traps humidity and can cause mildew.Allow air circulation
Even during storage, take your backpack out occasionally to allow air circulation and prevent mold growth, especially in humid climates.Avoid compression
Don’t stack heavy items on top of your leather backpack during storage as this can cause permanent creases or misshapen areas.
For comprehensive information about keeping your leather items in pristine condition, our guide on how to maintain leather backpacks provides detailed strategies for year-round care.
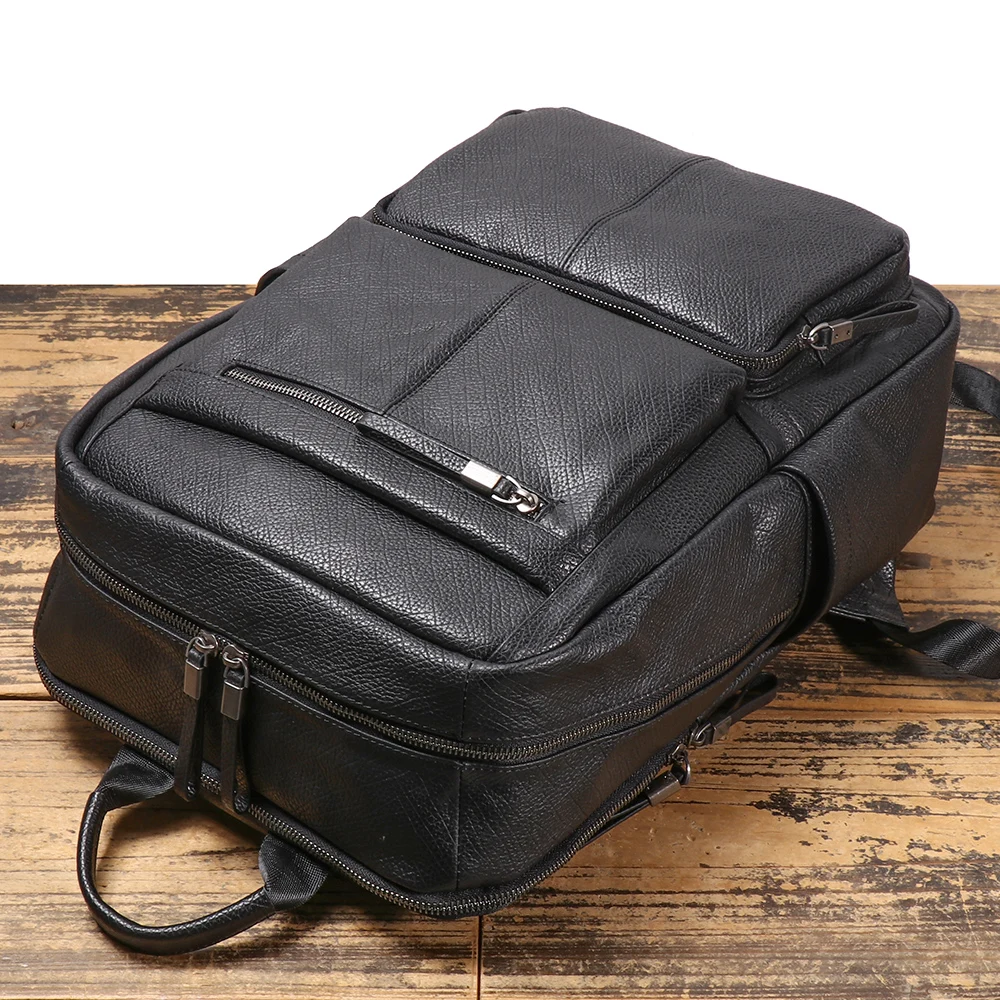
Conditioning Frequency: How Often Should You Treat Your Leather Backpack?
Finding the right conditioning schedule depends on several factors:
Climate Considerations:
– Dry climates (humidity below 40%): Every 1-3 months
– Moderate climates: Every 3-6 months
– Humid climates: Every 6-12 months, focusing more on cleaning than heavy conditioning
Usage Patterns:
– Daily use: Increase conditioning frequency by 30-50%
– Occasional use: Stick to the climate-based schedule
– Storage: Apply light conditioning before extended storage periods
Visual and Tactile Indicators:
– Touch test: If leather feels stiff or less supple
– Appearance: When leather starts looking dull or lighter in color
– Water drop test: If water absorbs immediately instead of beading slightly, it’s time to condition
For leather maintenance guidance for commuters who use their backpacks daily in varying conditions, specialized care routines can make a significant difference in longevity.
Troubleshooting Common Issues After Conditioning
Even with careful application, you might encounter these common post-conditioning problems:
Sticky or Tacky Surface
– Problem: Too much conditioner applied or insufficient buffing
– Solution: Wipe excess with a clean, dry cloth using firm pressure. For severe cases, a very slightly damp cloth can help remove buildup, followed by proper drying time.
Uneven Color or Dark Spots
– Problem: Uneven application or oversaturation
– Solution: For minor cases, buff vigorously with a dry cloth. For more severe spotting, allow complete drying for 72 hours—many spots will even out naturally as the conditioner fully absorbs.
Over-Conditioned Leather
– Problem: Leather feels floppy or too soft
– Solution: Allow extended drying time in a well-ventilated area. For severe cases, a gentle cleaning with leather soap can remove some excess oils.
White Residue
– Problem: Conditioner not fully absorbed or reaction with previous products
– Solution: Buff vigorously with a soft cloth. If persistent, very slightly dampen a cloth with distilled water and wipe gently, then allow to dry completely.
14 Inch Leather Laptop Backpack, Brown Leather Backpack, Men's Leather Backpack, Vintage Leather Backpack
Price range: $177.28 through $199.12 Select options This product has multiple variants. The options may be chosen on the product pageCarry On Leather Backpack, Roll Top Leather Backpack
Price range: $77.76 through $96.48 Select options This product has multiple variants. The options may be chosen on the product pageDesigner Mini Backpack, Mini Leather Backpack, Small Leather Sling Backpack, Women's Leather Backpack
Price range: $95.76 through $98.80 Select options This product has multiple variants. The options may be chosen on the product pageDesigner Mini Backpack, Designer Women's Backpack, Mini Leather Backpack, Women's Leather Backpack
Price range: $135.92 through $137.64 Select options This product has multiple variants. The options may be chosen on the product page17 Inch Leather Laptop Backpack, Men's Leather Travel Backpack, Men's Leather Work Backpack
Price range: $106.28 through $143.88 Select options This product has multiple variants. The options may be chosen on the product pageBlack Leather Backpack, Small Leather Backpack, Women's Leather Backpack
Price range: $112.96 through $116.12 Select options This product has multiple variants. The options may be chosen on the product page
Advanced Leather Restoration Techniques
For backpacks showing significant wear or neglect, these specialized techniques can help revitalize the leather:
Severely Dry Leather Restoration:
1. Begin with a gentle cleaning using a pH-balanced leather cleaner
2. Apply a leather-specific deep conditioner designed for restoration
3. Use the “layering method”—apply multiple light coats over several days rather than one heavy application
4. Allow 48 hours between applications for proper absorption
5. Finish with a standard leather conditioner for balanced moisture
Addressing Deep Scratches:
1. Clean the scratched area thoroughly
2. Use your fingertip to apply a tiny amount of conditioner directly to the scratch
3. Gently massage in circular motions to help the leather fibers relax and blend
4. For deeper scratches, a leather cream that matches your backpack’s color can help conceal damage
Color Restoration for Faded Areas:
1. Clean thoroughly and condition the entire backpack first
2. Apply leather-specific color restorer that matches your backpack
3. Use small, even strokes with a sponge applicator
4. Allow each coat to dry completely before assessing if another is needed
5. Seal with a leather conditioner after color has set for 24 hours
Our men’s leather backpack collection includes styles that develop character with age, making proper restoration techniques valuable for maintaining their distinctive appearance.
Can You Use Household Products to Condition Leather? (Myths & Facts)
Many DIY solutions exist online, but not all are safe for your valuable leather backpack:
Myth: Olive oil is a great natural leather conditioner
Fact: While initially moisturizing, olive oil eventually turns rancid, causing unpleasant odors and potential leather degradation. The molecular structure is too large for proper leather penetration.
Myth: Coconut oil is perfect for leather care
Fact: Coconut oil can oversaturate leather and lead to oil spots, mold growth, and premature breakdown of leather fibers. It also hardens at cooler temperatures, potentially causing leather stiffness.
Myth: Petroleum jelly waterproofs and conditions leather
Fact: Petroleum jelly creates an occlusive barrier that prevents leather from breathing, potentially trapping moisture inside. This can lead to mildew and deterioration over time.
Myth: Baby oil is gentle enough for leather
Fact: Mineral oil in baby oil can over-saturate leather and create permanent dark spots. It doesn’t contain the proper nutrients leather needs to remain supple.
Safe Emergency Alternative:
In a true emergency, a tiny amount of unscented lanolin-based lip balm can provide temporary conditioning until you can purchase proper leather conditioner. Always test on an inconspicuous area first.
Understanding whether oiling leather provides waterproofing is important when considering alternative treatments for your leather goods.
How to Protect Your Leather Backpack Between Conditioning Sessions
Proper daily habits dramatically extend the benefits of conditioning:
Daily Care Practices:
– Wipe your backpack with a dry, soft cloth after each use to remove dust and oils
– Store in a dust bag when not in use
– Keep away from direct sunlight and heat sources which accelerate drying
– Use a leather-safe rain repellent during wet weather
– Handle with clean hands, avoiding contact with lotions or oils
Immediate Action for Accidents:
– For water exposure: Blot (don’t rub) with a clean, dry cloth and allow to air dry naturally
– For oil spots: Blot excess immediately, then apply a small amount of cornstarch or talcum powder to absorb oil
– For dirt: Let it dry completely before brushing off with a soft brush
Regular Inspection Routine:
– Weekly quick checks for early signs of dryness or wear
– Monthly more thorough examination of stress points and seams
– Seasonal assessment for conditioning needs based on climate changes
For additional protection, particularly for travel bags, our complete guide to waterproofing leather bags offers specialized techniques beyond basic conditioning.
Is Your Leather Backpack Waterproof After Conditioning?
A common misconception is that conditioning alone makes leather waterproof:
What Conditioning Actually Provides:
Conditioning adds moisture resistance by replenishing natural oils in the leather, creating a partial barrier that repels light moisture. However, standard conditioning does not create true waterproofing.
Water Resistance vs. Waterproofing:
– Conditioned leather can handle light rain or brief exposure to moisture
– Water may still penetrate during heavy downpours or prolonged exposure
– Leather can still be stained by water if not properly treated with a dedicated waterproofing product
Additional Protection Options:
– Beeswax-based waterproofing treatments provide stronger water resistance
– Silicone or acrylic-based waterproofers create more complete barriers
– Always apply waterproofing after conditioning, never before
Realistic Expectations:
Even with both conditioning and waterproofing, leather remains a natural material with limitations. No treatment can make leather completely impervious to water without compromising its breathability and natural beauty.
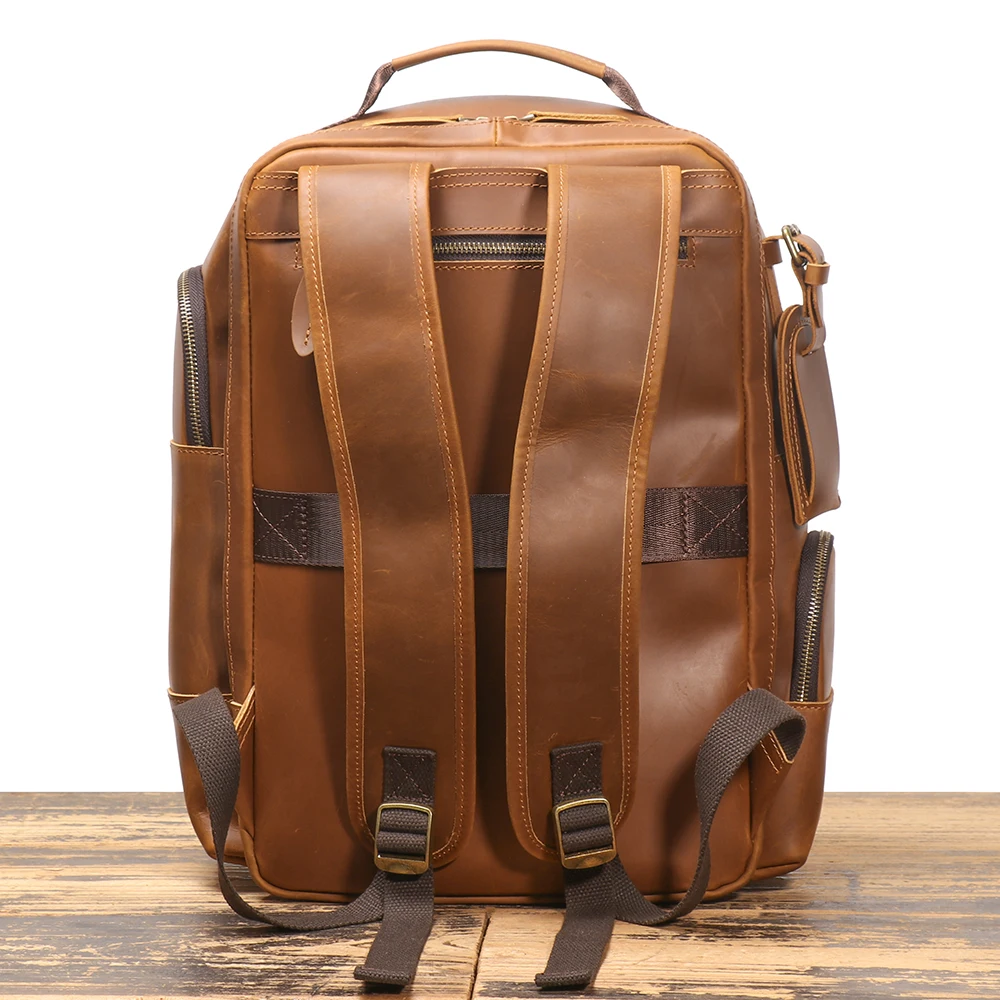
What To Do If Your Conditioned Leather Backpack Gets Wet
Even with careful precautions, your backpack might get caught in the rain. Here’s how to minimize damage:
Blot immediately
Use a dry, absorbent cloth to gently blot (not rub) excess moisture from the surface. Microfiber towels work exceptionally well for this purpose.Shape and stuff
Stuff the backpack with dry paper towels or clean cloths to maintain its shape while drying and help absorb internal moisture.Air dry properly
Allow the backpack to dry naturally at room temperature away from direct heat sources or sunlight. Direct heat can cause leather to crack or warp.Address water spots
If water spots appear after drying, dampen a cloth slightly with distilled water and gently wipe the entire panel (not just the spot) for even drying.Recondition after complete drying
Once thoroughly dry (minimum 24-48 hours), apply leather conditioner as water exposure can strip natural oils from the leather.
Our leather travel backpacks are designed to withstand various conditions, but proper after-exposure care remains essential for maintaining their quality and appearance.
Conditioning Colored and Dyed Leather Backpacks
Colored leather requires special considerations during the conditioning process:
Color Transfer Concerns:
– Test conditioners on an inconspicuous area first, as some may affect dyes
– Oil-based conditioners may darken colored leathers, especially lighter shades
– Water-based conditioners generally cause less color alteration
Tips for Different Colors:
– Light-colored leather: Use specialized light-leather conditioner to prevent darkening
– Dark-colored leather: Standard conditioners work well, but still test first
– Vibrant colors: Look for pH-neutral conditioners specifically formulated to preserve dye integrity
Application Technique:
Use extremely thin layers of conditioner on colored leather, building up slowly rather than applying one heavier coat. This allows you to control any potential color changes.
Professional vs. DIY Leather Conditioning: When to Seek Expert Help
While most leather conditioning can be done at home, certain situations warrant professional attention:
DIY Appropriate Scenarios:
– Regular maintenance conditioning
– Minor spot cleaning and conditioning
– Basic waterproofing applications
– Addressing small scuffs and scratches
When to Seek Professional Help:
– Valuable or antique leather backpacks
– Severe staining or discoloration
– Significant water damage
– Mold or mildew issues
– Color restoration needs
What Professional Leather Care Includes:
– Deep cleaning with specialized equipment
– Professional-grade conditioning treatments
– Color matching and restoration
– Repair of damaged areas
– Expert assessment of leather type and needs
Cost-Benefit Consideration:
Professional leather care typically costs $50-150 depending on the service level and backpack complexity. For high-value backpacks or sentimental items, this investment can be worthwhile to prevent irreversible damage from DIY mistakes.
Do’s and Don’ts of Leather Backpack Conditioning
Do’s:
– Do identify your specific leather type before selecting conditioner
– Do test products on an inconspicuous area first
– Do clean thoroughly before conditioning
– Do apply thin, even coats of conditioner
– Do allow adequate absorption time between coats
– Do buff thoroughly to remove excess product
– Do condition based on need, not just schedule
– Do store properly between conditioning sessions
Don’ts:
– Don’t use household soaps or cleaners on leather
– Don’t apply conditioner to wet or damp leather
– Don’t overload leather with too much conditioner
– Don’t use direct heat to dry leather before or after conditioning
– Don’t use the same conditioning approach for all leather types
– Don’t store conditioned leather in plastic bags
– Don’t expose freshly conditioned leather to direct sunlight
– Don’t skip cleaning before conditioning
With these comprehensive guidelines, you’re well-equipped to properly condition your leather backpack, ensuring it remains beautiful and functional for years to come. Regular conditioning is not just maintenance—it’s an investment in the longevity of your leather goods.

